The 18 step by step method to take better photos right now no matter what camera you have.
Follow these steps and you will get better at taking pictures. Your photos will improve. Your skills will improve. Money back guaranteed!
#5 might be one of the most important steps that people tend to dismiss.
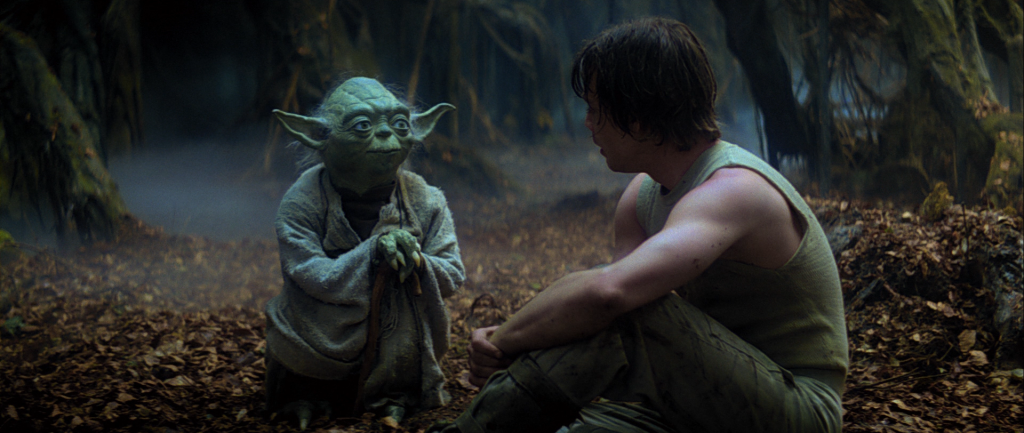
People tend to skip #17 and #18 and “That”, said Master Yoda “is why you fail”.
Onward young Photo Jedi! Begins now your training …
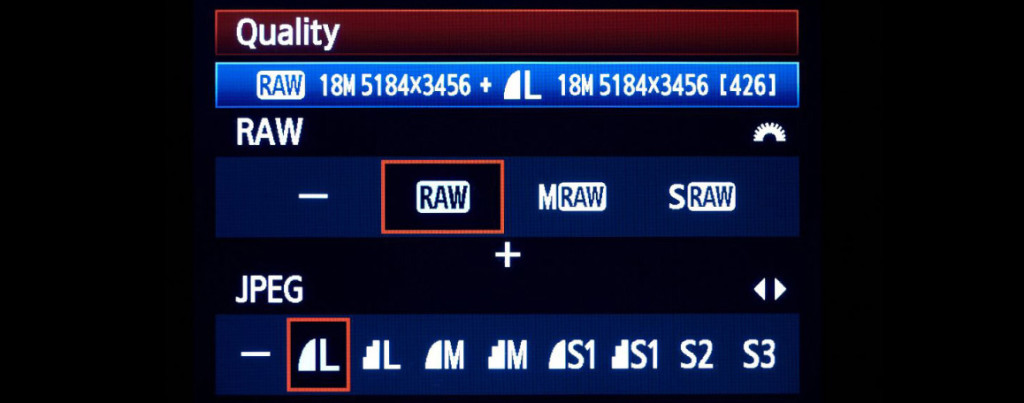
1) Set your camera to the best resolution (biggest file size). If you can’t do this, don’t worry about it. Move on.
2) Set your ISO to the lowest number your camera will allow (80 or 100). If you can’t do this, don’t worry about it. Move on.
3) Use Full Auto Mode … for now. 🙂
4) Turn on your composition grid. (Usually rule of thirds.) If you can’t do this, don’t worry about it. Move on.
5) Slow down. Be intentional. Purposeful. Think. Plan. See. Adjust.
6) Have only ONE subject … if you can.
7) Put your main subject in one of the crosshairs of the grid (#4)
8) Get CLOSER. Walk up with your feet. Sneakerzoom. Now get closer. Closer! CLOSER!!
9) Pay attention and notice: Where is the light coming from? Is that the best angle / location? Can you do anything to change it?
10) Get as much light on the subject as you can. Turn on lights, open windows, change your angle, etc.
11) Pay attention to what is BEHIND your subject. Does it compliment or distract? Clear the clutter! Such a common mistake. Beautiful subject with a trashcan back there photobombing. Make the subject your subject!
12) Keep it as steady as you can. Gently squeeze the shutter button. Don’t mash and shake. (Use a tripod to really get into the zen of the experience. Slow down. Be intentional.)
13) Take a LOT of pictures. Work the scene baby! Now with intent and purpose: take a few more. Be decisive. See. Plan. Adjust. Change. Take a few more. Not just snapping more photos like a machine gun, more like a sniper. Bam! There’s another possible keeper!
14) Shoot from different angles. We tend to take what we can get with a snapshot, easy, leave too much in, from an adult’s head height. So common. So meh. Shoot from high. Low. Super High. Super Low. Can you get lower? Pivot around and put different things in the background. Super tilted.
15) Pick only ONE from your shoot. No, no, not three, not two! Just ONE! Which ONE really catches your attention or begs to be shared?
16) On your computer or mobile device: Edit your ONE image to taste.
17) Post it and share it for others to see. Click here to go to a great place to post your pictures.
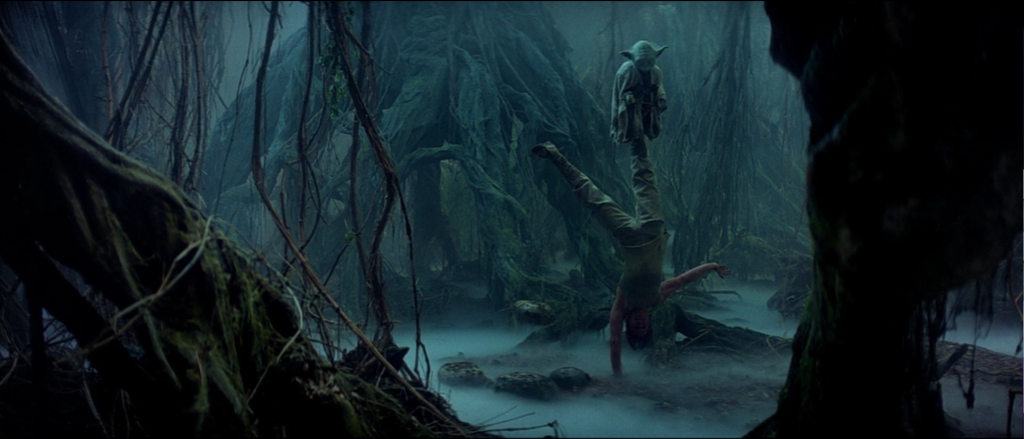
18) Rinse and Repeat. Practice this again and again. Daily. As many times during the day as you can. On weekends. At night in your home. After breakfast. On your lunch break. Right after work. Before dinner. After doing a one-armed handstand.
NEW! A foldable, pocketable PocketMod with these 18 Steps that you can take with you! (Special thanks to Frank Fesevur for creating it).
Click here to sign up to our Photo Club AND get the Groovy PocketMod


Great list! I’m going to laminate it and put it in my camera bag!
All are excellent points.
Thanks Anita. Hope they help!
Mmm………..#15 remember I must.
Yes, share one you must!
Thanks, Sonny! Really appreciate these important steps & the pocketable.
Hey Marilyn! You are most welcome!